Manual Exposure
Instruction
When working in a priority mode, you are tied to what the camera interprets for light and visual information.
When you work in Manual mode, you are overriding the camera capabilities of achieving a base gray exposure.
ALL Automatic MODES take the light that the camera sees in your viewfinder, reviews it, changes either the aperture, shutter speed or ISO (depending on which auto mode you are using) to create an exposure that is BASE gray (gray card gray).
If your scene is black, your camera will lighten the scene to make it gray
If your scene is white, your camera will darken the scene to make it white
Working in manual mode can take some getting used to, but it allows you to create an more accurate image. Accuracy is key in reducing the amount of post-processing, digital aberrations in exposure adjustments as well as awkward shifts in over all exposure.
The key to creating an accurate exposure is
- A. Understanding where your light meter is reading and approximating what tone it is set to
- B. Pointing your light meter to a subject that is base gray and adjusting your exposure elements to read "0".
| checklist_for_learning_photography.pdf |
Manual Exposure Assignment
For this project, consider what we discussed in class about Manual exposure
if you have questions watch the videos below.
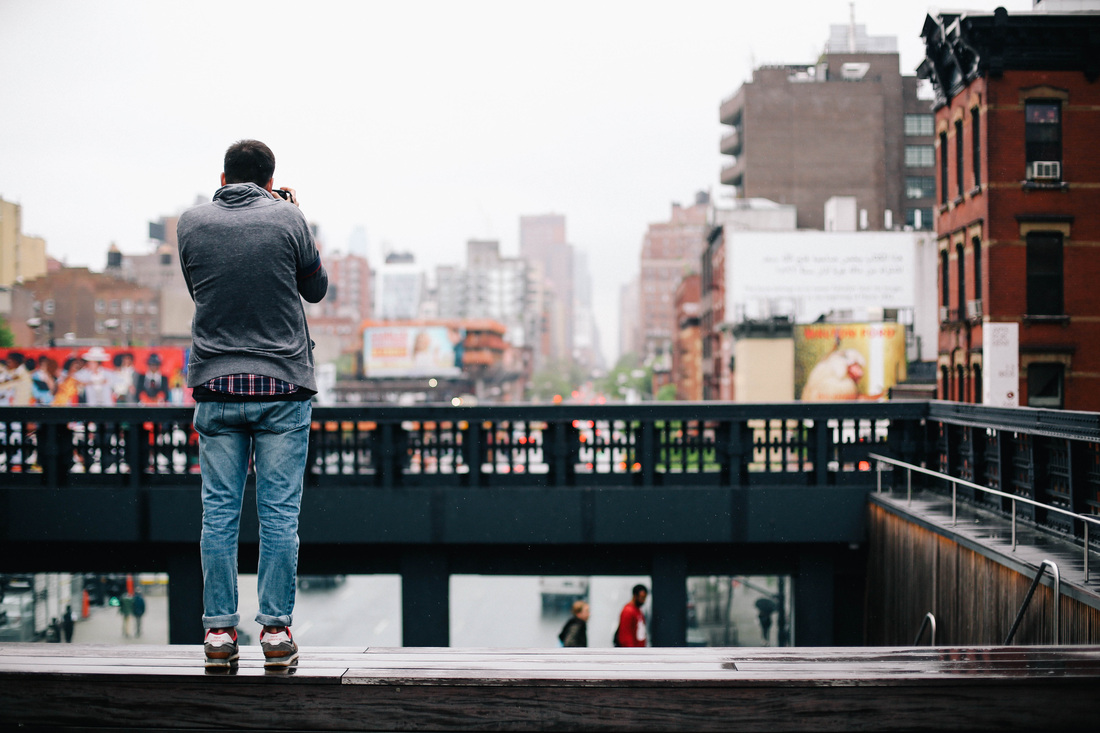
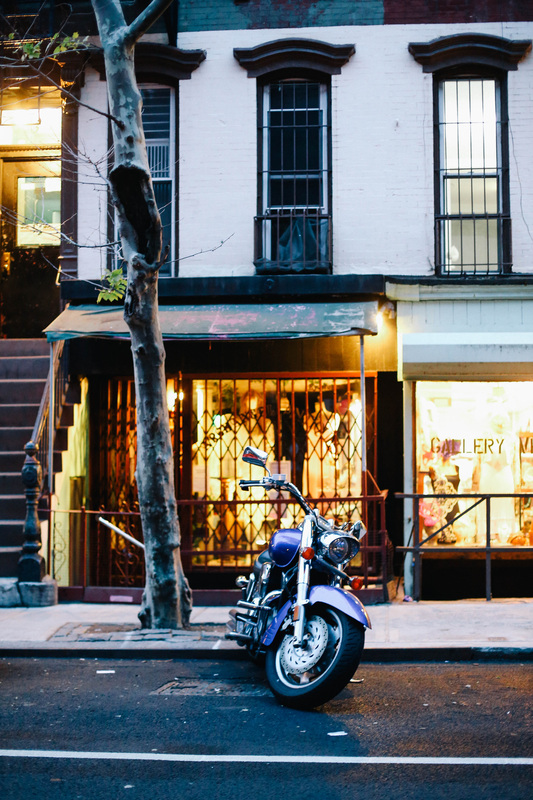
Your project is to shoot at least three different scenes:
1. darker than base
2. lighter than base
3. Base/average light situation
Consider where the exposure should register on the light meter.
Expose each scene, over exposed, under exposed and on base exposure (O)
We will evaluate the different zones for your different exposures so you can see how to accurately record an image instead of relying on Automatic mode.
You should be photographing these images in Manual mode as we discussed in class.
For more information on manual exposure: research online, or follow a few of these links.
manual exposure explained
just had to include this: hahaha (he's hilarious)
Digital photography: manual
Digital photography: manual 2
For more information, explore you tube and google images to look for different ideas and processes to help you understand beyond what we spent time learning in class.
For this project, consider what we discussed in class about Manual exposure
if you have questions watch the videos below.
Your project is to shoot at least three different scenes:
1. darker than base
2. lighter than base
3. Base/average light situation
Consider where the exposure should register on the light meter.
Expose each scene, over exposed, under exposed and on base exposure (O)
We will evaluate the different zones for your different exposures so you can see how to accurately record an image instead of relying on Automatic mode.
You should be photographing these images in Manual mode as we discussed in class.
For more information on manual exposure: research online, or follow a few of these links.
manual exposure explained
just had to include this: hahaha (he's hilarious)
Digital photography: manual
Digital photography: manual 2
For more information, explore you tube and google images to look for different ideas and processes to help you understand beyond what we spent time learning in class.
|
|
|

|
