Aperture
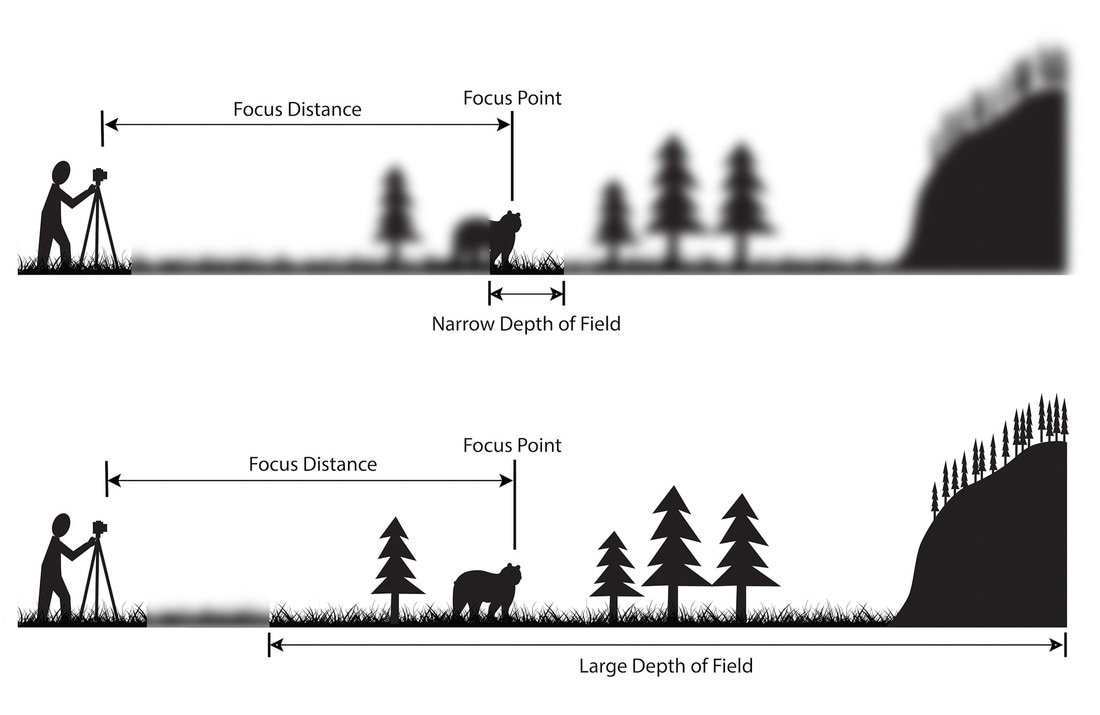
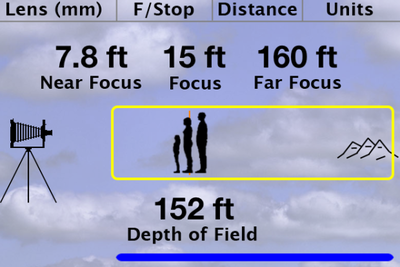
Shallow & Deep Depth of Field
The Aperture (Depth of Field) assignment will teach you how the aperture affects the depth of field and exposure.
Explanation of DOF ** Good link to watch!
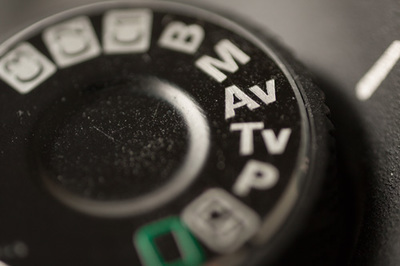
Remember: when you're photographing this assignment you are working in AV mode! ("A Mode" with Nikon)
THE AV MODE: is an automatic mode, and will always calculate your exposure to create an AVERAGE GRAY EXPOSURE!
In other words, you control (by adjusting the scroll) what aperture (FSTOP) you want the computer to be on and the computer inside the camera (light meter) will determine what shutter speed the camera takes the picture at to control and adjust the light so that your exposure is not too light or too dark.
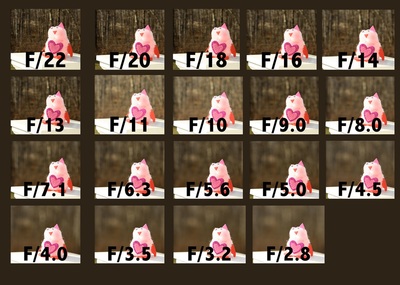
So use different apertures to change the depth of field of your image.
DEPTH OF FIELD IS HOW DEEP THE FOCUS IS NOT HOW SHARP THE FOCUS IS!!! REMEMBER YOU STILL NEED TO FOCUS THE IMAGE SO PART OF YOUR IMAGE IS IN FOCUS!!!
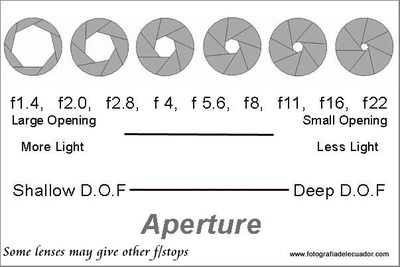
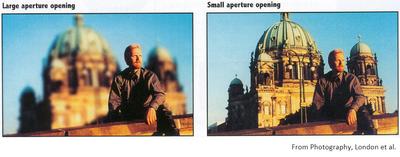
Remember: the lower the aperture number 3.5, 4, 5.6 etc. the lower your focus will be (shallow depth of field) the higher the aperture is 8, 11, 16, 22 the higher your focus will be (deep depth of field)
Coincidentally, because the aperture also controls the amount of light that comes through the lens (in addition to the d.o.f) as you change the number you will require the camera to adjust the speed of the shutter. So don't be surprised if your shutter speed gets quicker or slower as you change those numbers.
If your shutter speed gets so slow (slower clicking when you take the picture) then you may want to adjust the ISO!
The ISO button is behind the "scroller" where you'll change your aperture at. The lower the ISO the less sensitive it is to light (so ideally a low ISO will be used in bright light and a high ISO will be used in low light). If you notice that your photographs are blurring from your own motion or the motion of your subject, click the ISO button and make the number higher.
REMEMBER: each number in the aperture and shutter speed are equivilent to one stop. (there are third stops avalable on your cameras, so try and make each different picture 3 clicks to get to the next full stop. The numbers (whole F stops) we discussed in class are
F1, f1.8, f2.0, f3.5, f4.0, f5.6, f8, f11, f16, f22, f32, f45, f64
(try and use those numbers as you have them for this project)
Depth of Field explanation.
Depth of field tutorial
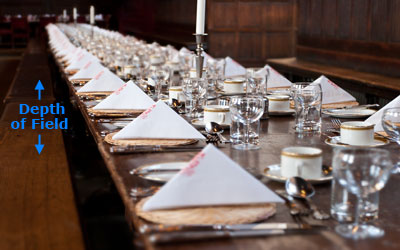
Depth of Field examples
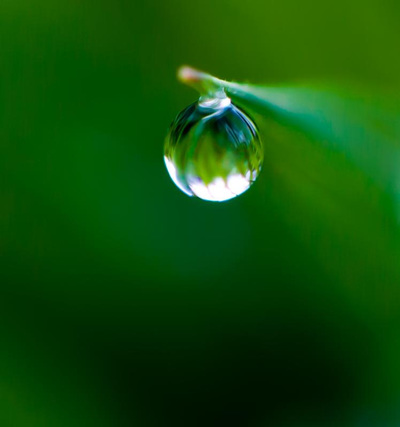
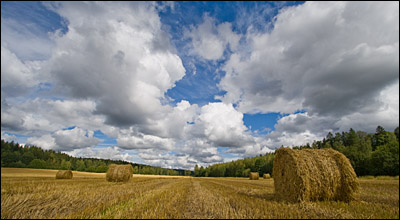
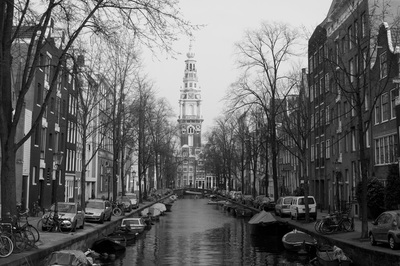
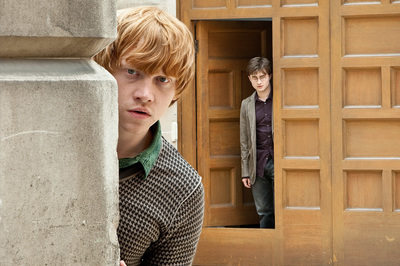
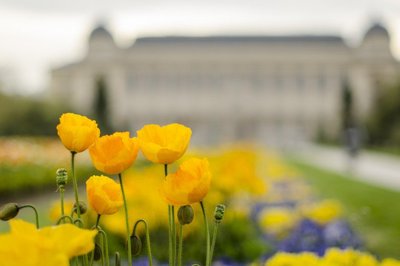
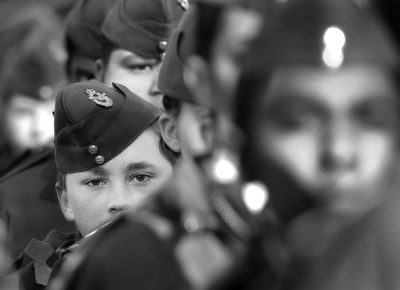
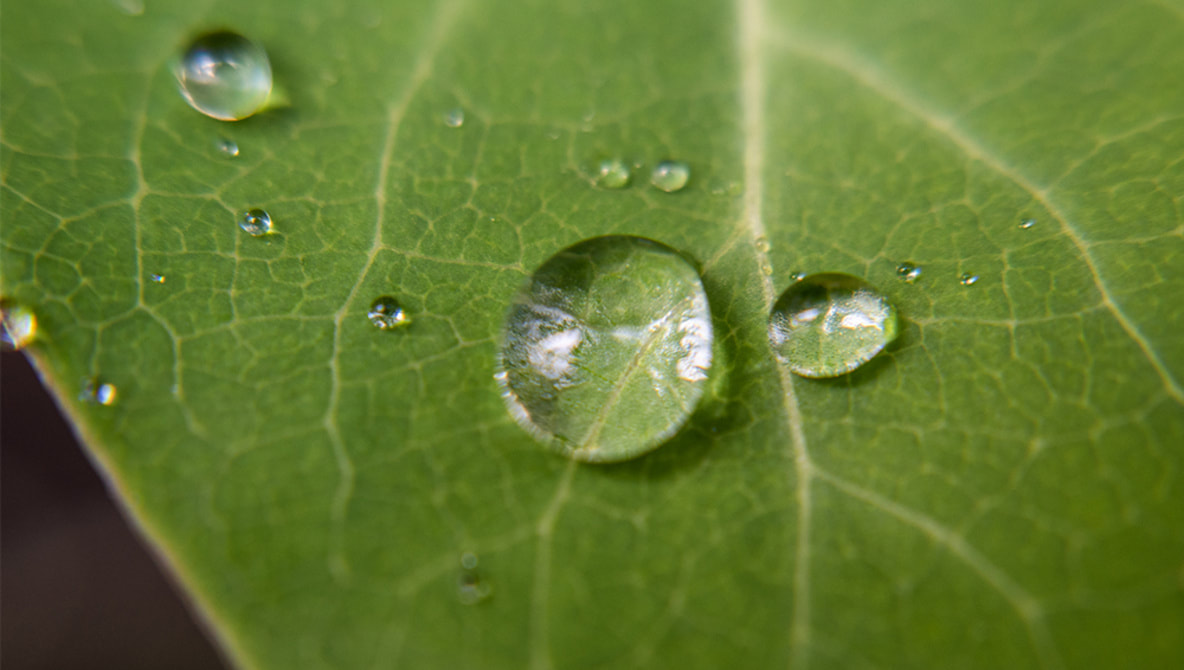
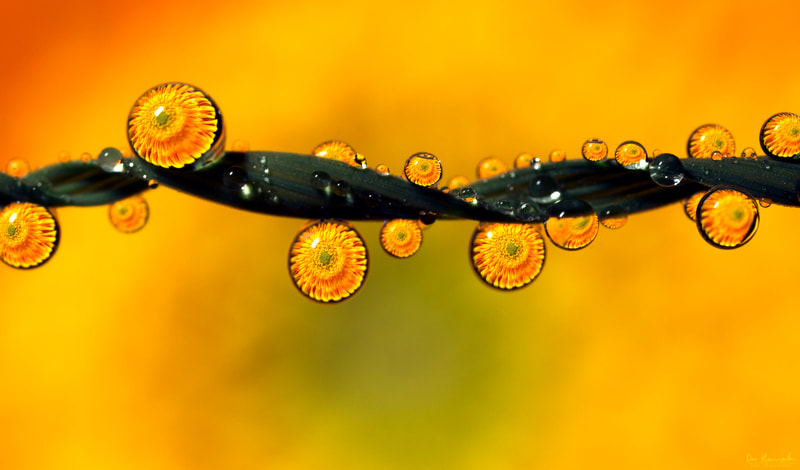
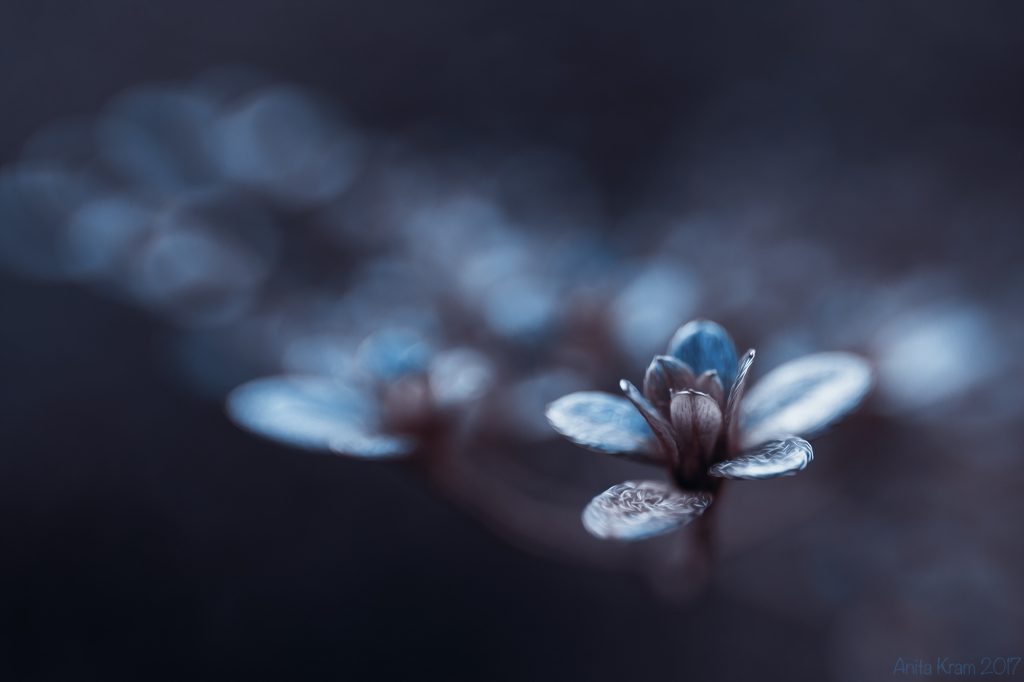
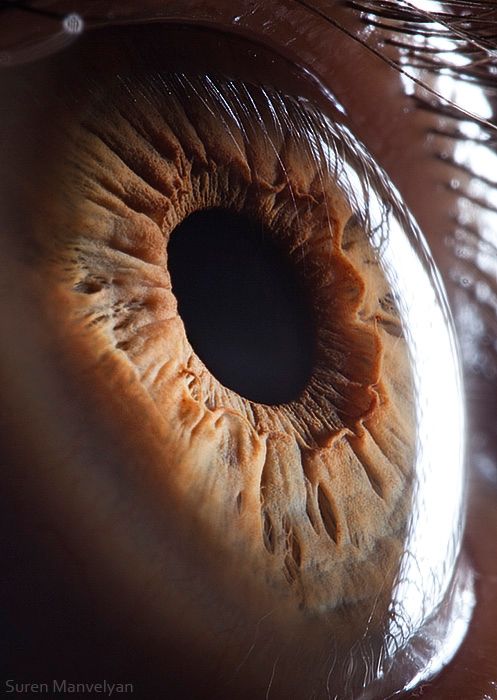
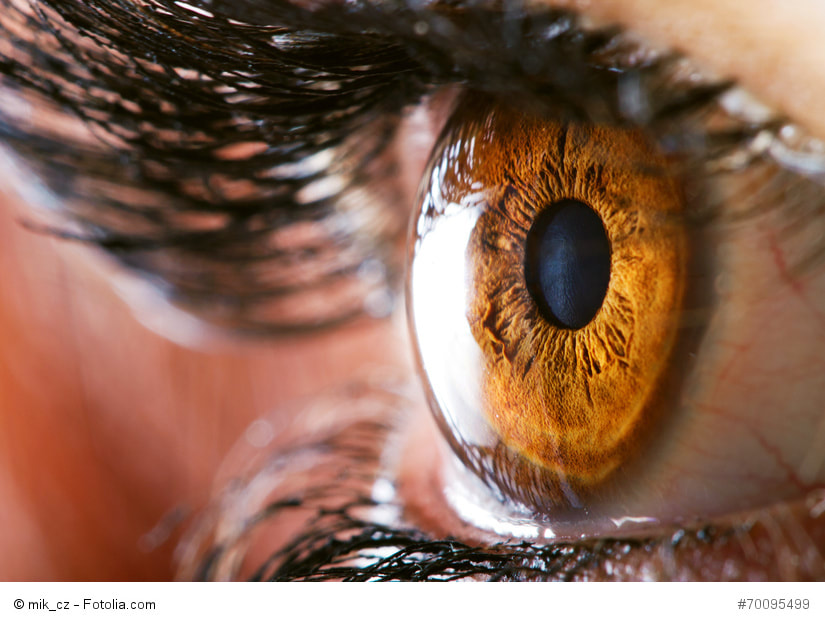
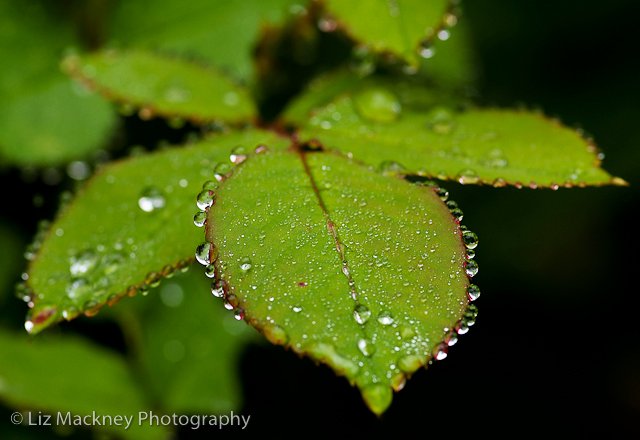
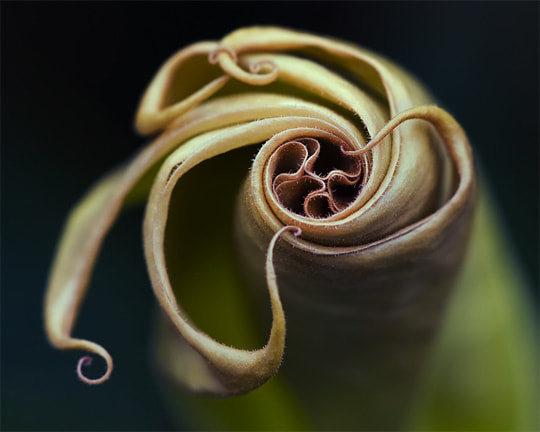
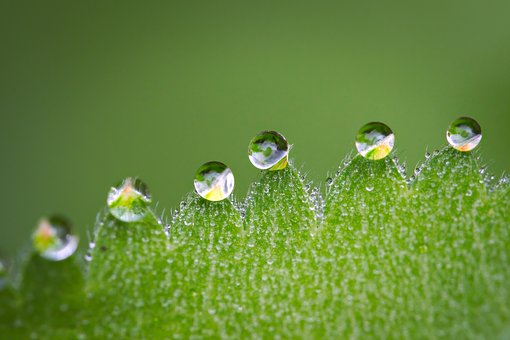
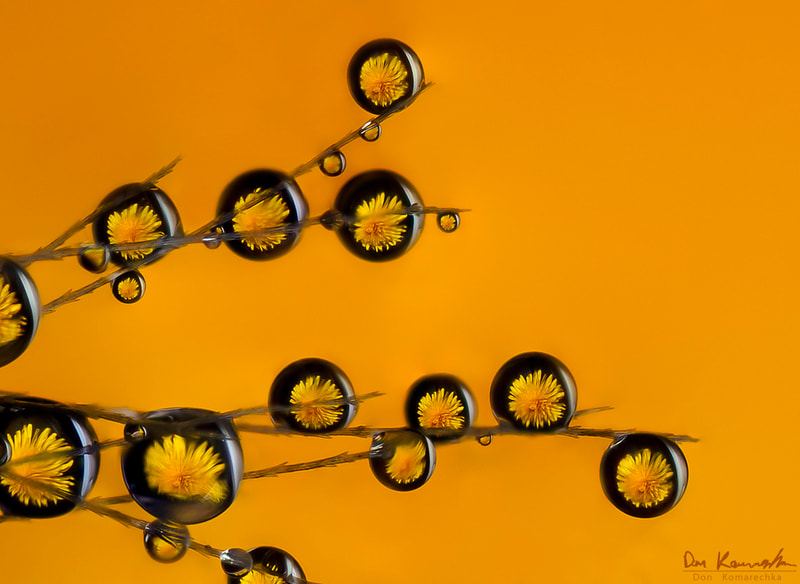
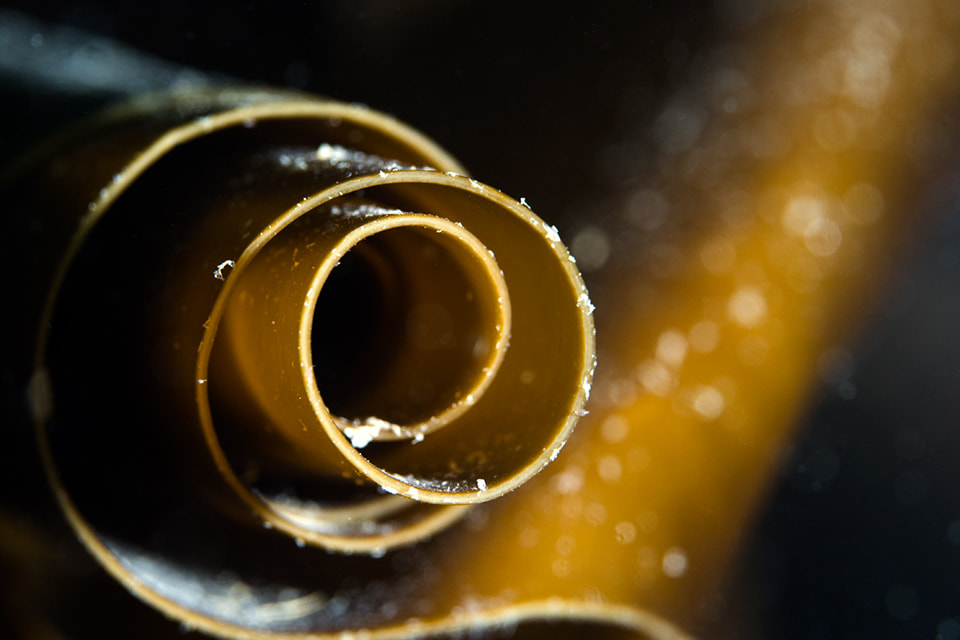
Images below taken from the internet. Images demonstrate shallow and great depth of field.
Remember the three different components to Depth of field as noted in the video watched in class (and at the top of this page)
*Aperture Size (f-stop)
*Length of Lens
*Proximity of Subject
If proximity to subject makes a difference with the amount of depth of field displayed in your image, consider working with MACRO filters. The macro filters require you to get closer to your subject and create images that are abstract and different than what we normally see with the naked eye. Watch this video on Macro photography to get a better idea of this concept.
MACRO PHOTOGRAPHY VIDEO
Please note: Aperture adjusts the amount of light coming into the camera as well as DEPTH OF FIELD SO:
It will be easier if you do this in brighter light. If you take these photos in dim light, your shutter speed will be very slow to compensate for the size of the aperture. Your photos will be blurry- put your camera somewhere steady (like when we did pinhole photos) to keep the image from being blurry.
