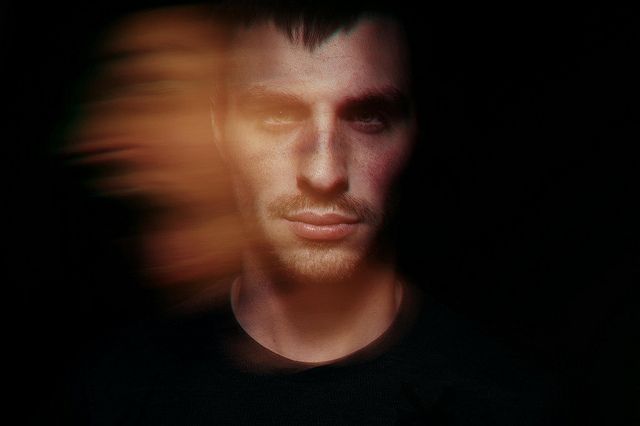
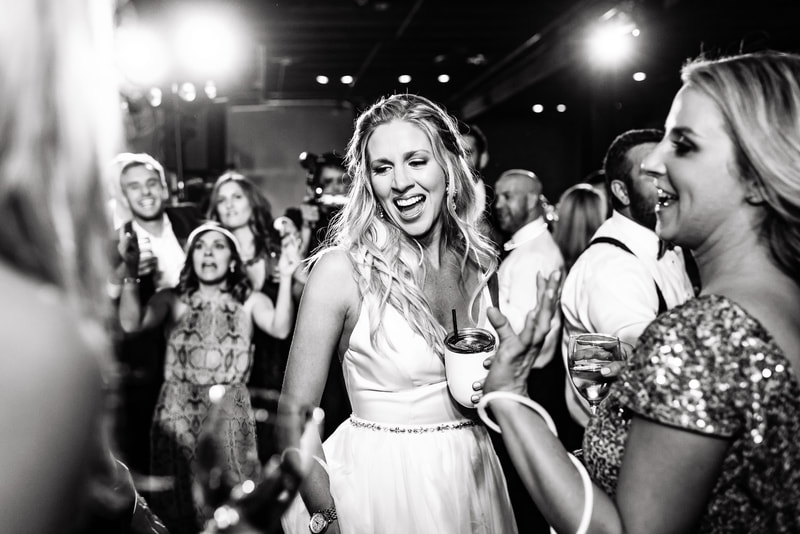
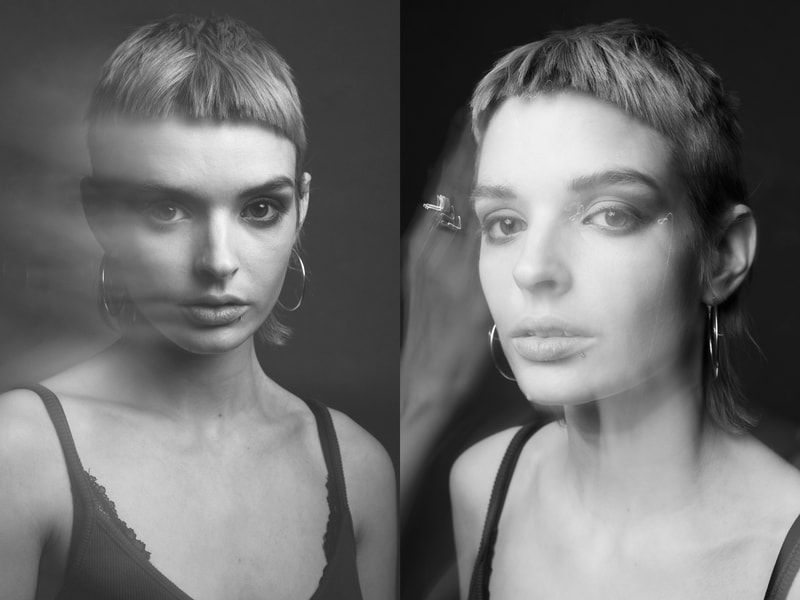
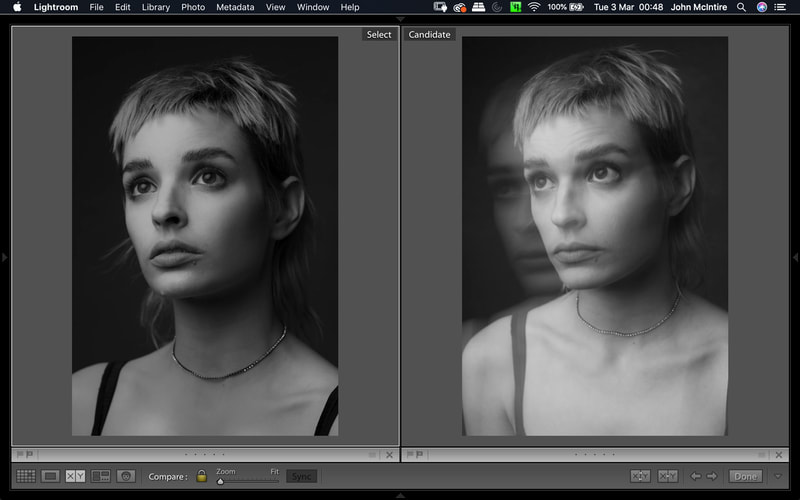
MOTION Part Deux: slow motion
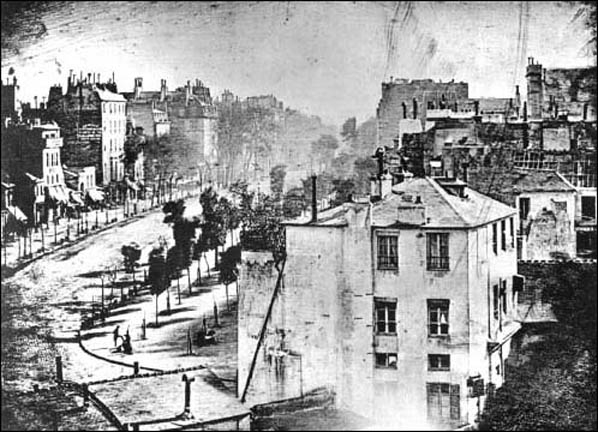
Louis Daguerre accidentally took the first photo of a human in 1838/1839.
The chemical reaction that happened in his "studio" on the day the photo was taken (over 8 hours) illustrated that movement in a long exposure could erase something that was there, and light would equally bounce off subjects that were stationary for long enough. https://www.metmuseum.org/toah/hd/dagu/hd_dagu.htm
http://www.loc.gov/teachers/classroommaterials/connections/daguerreotype/history.html
Long Exposure: Drawing With Light
For this assignment you are going to work with very slow shutter speeds. (as opposed to fast shutter speeds)
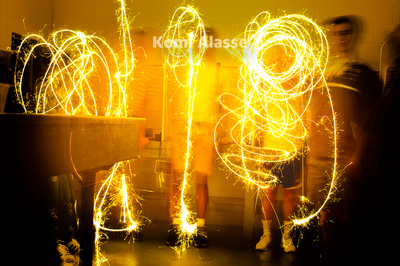
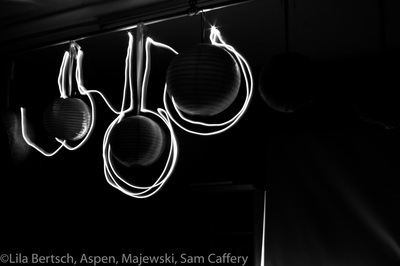
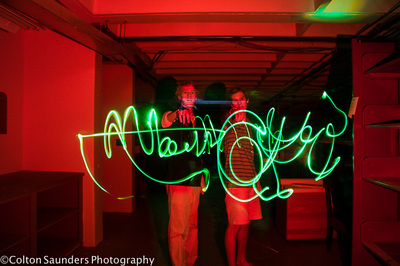
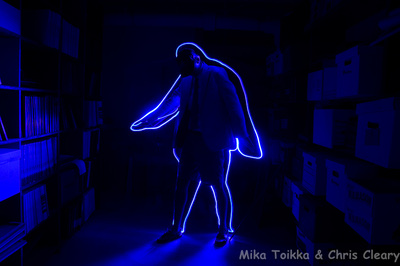
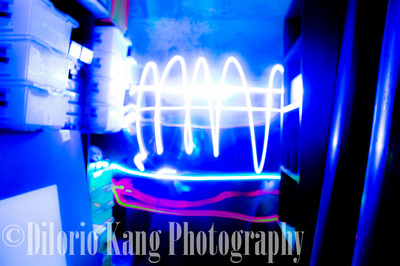
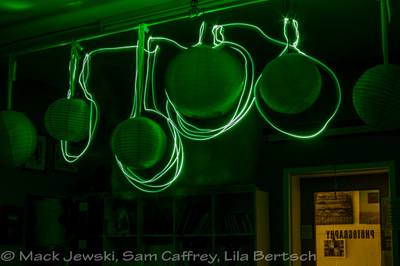
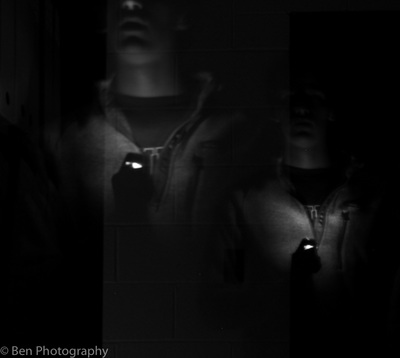
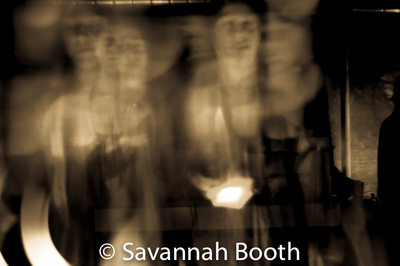
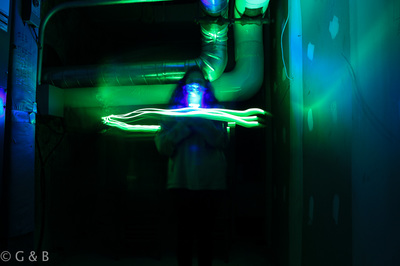
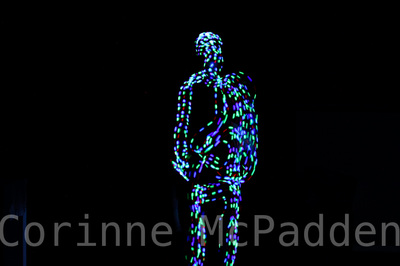
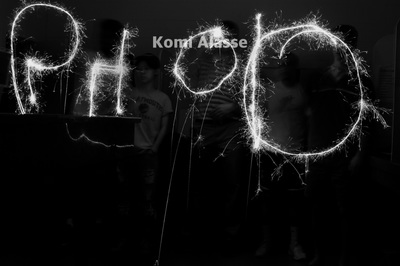
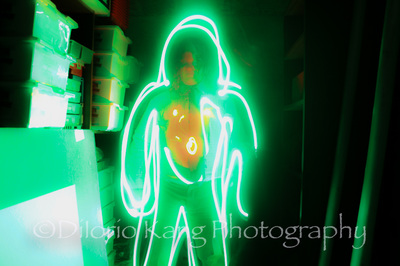
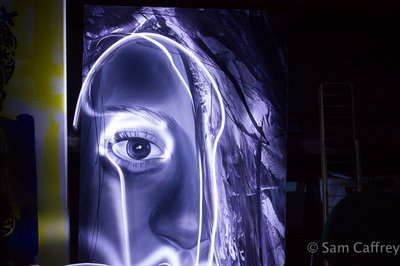
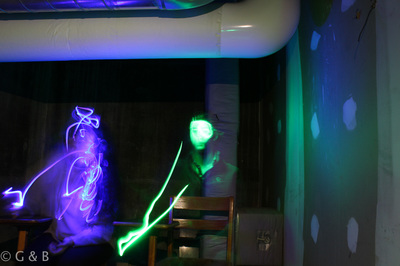
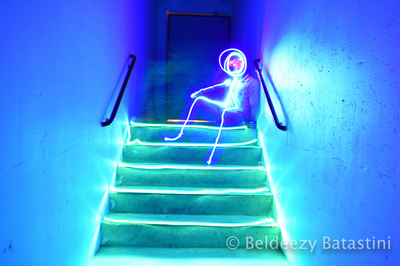
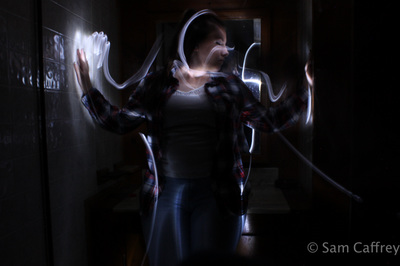
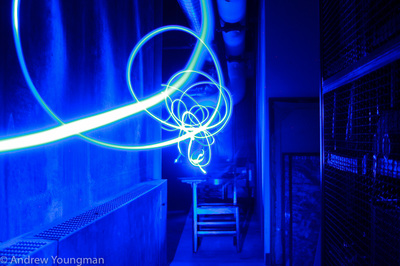
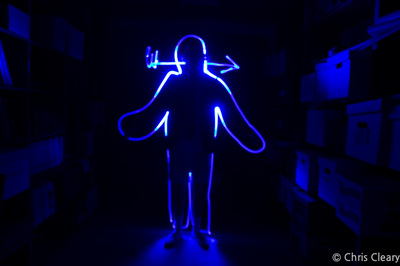
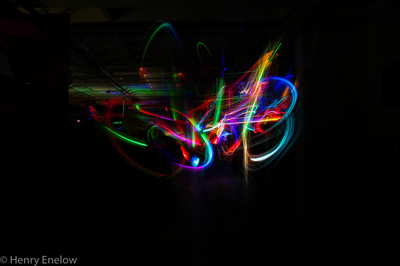
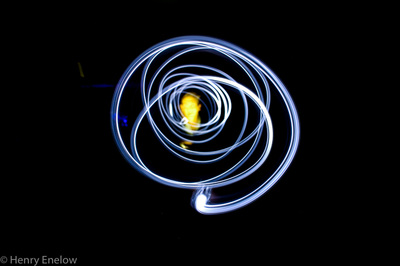
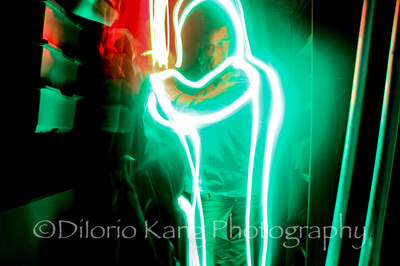
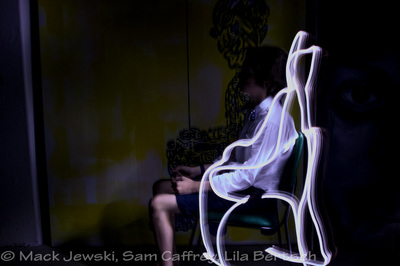
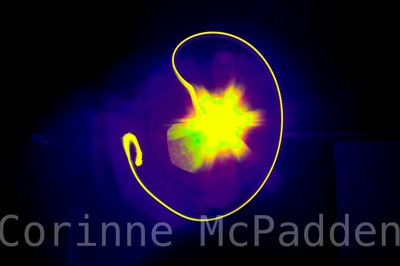
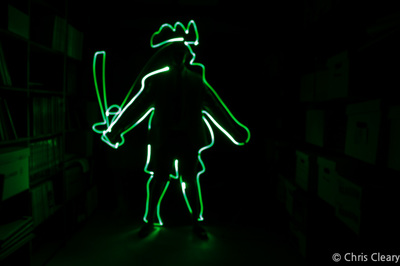
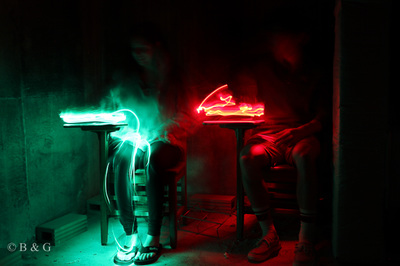
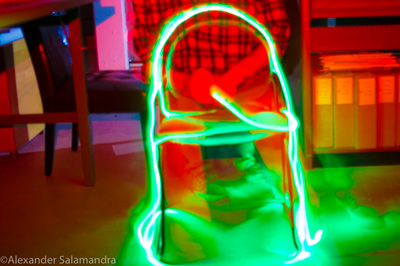
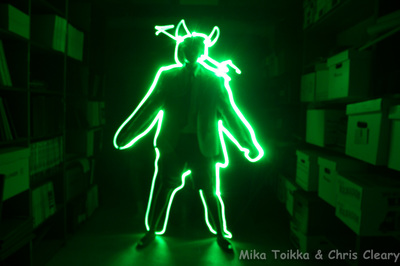
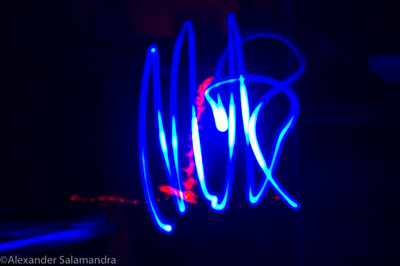
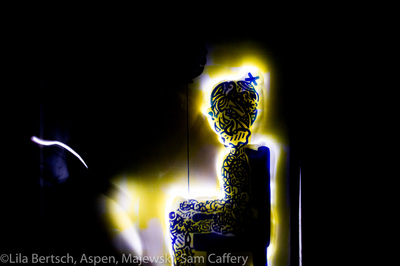
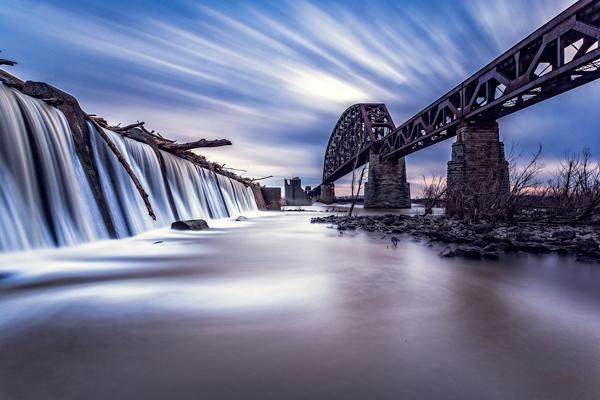
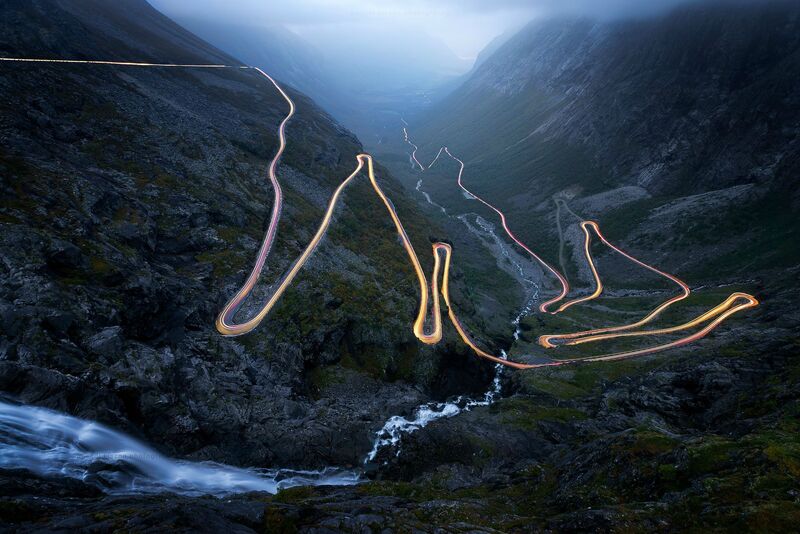
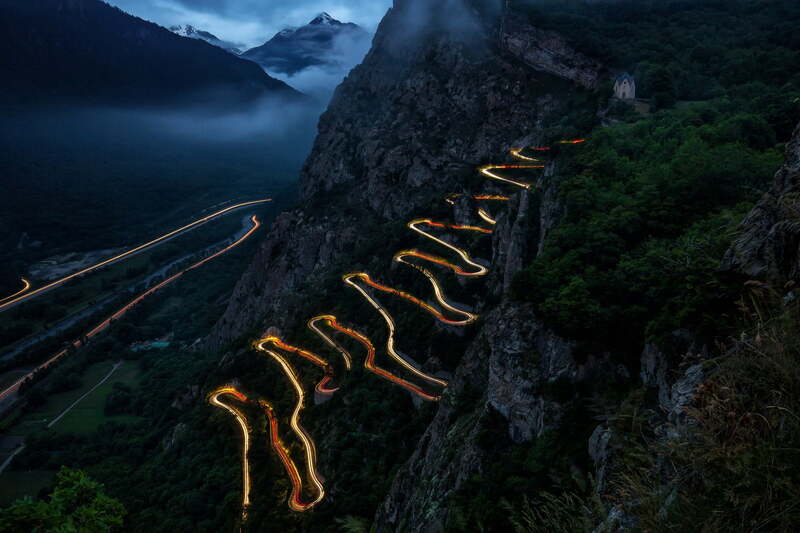
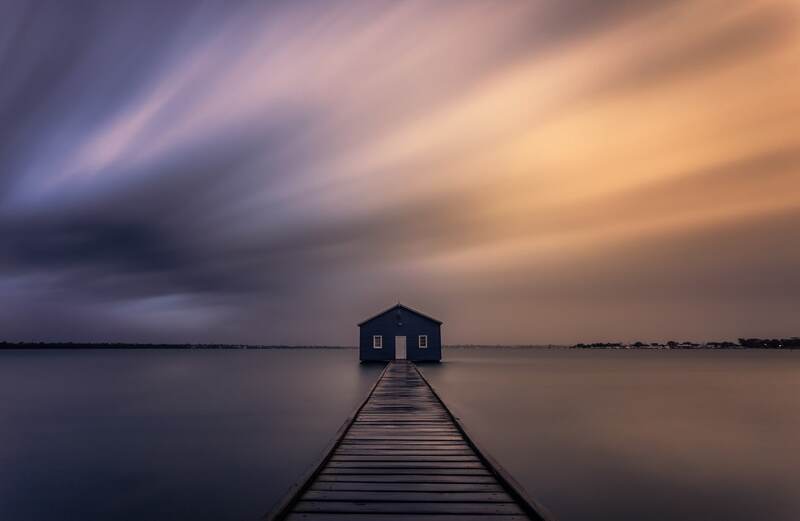
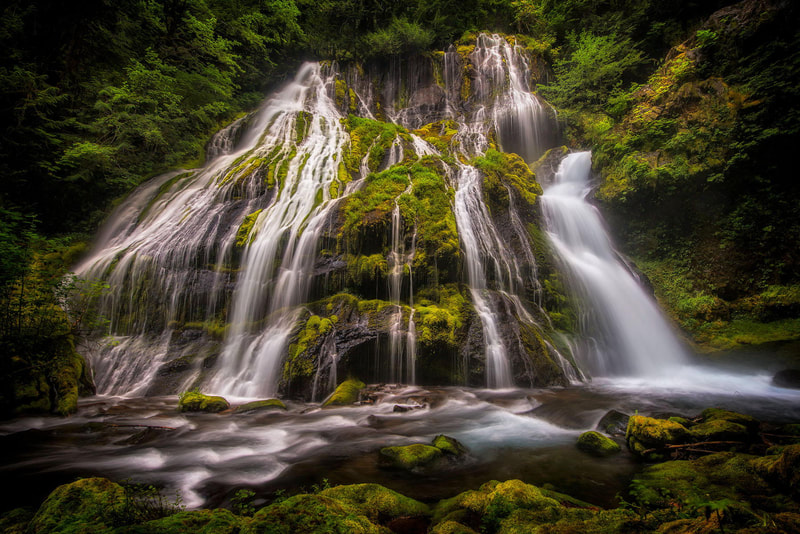
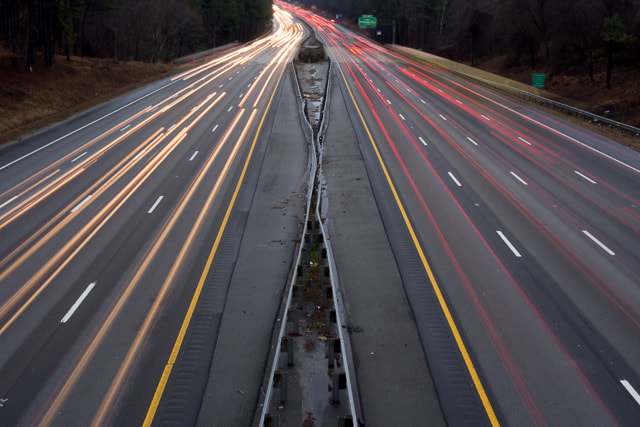
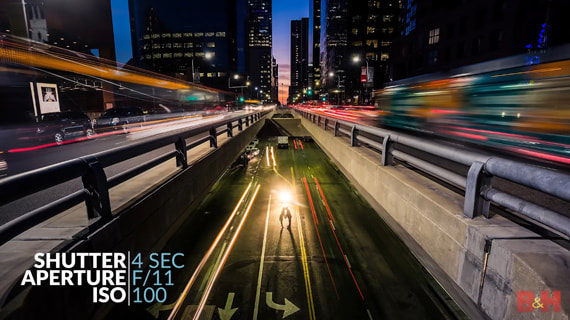
In photography, you may want to use long exposure to create unique landscapes with moving water or clouds or you might want to use long exposure to create a unique, drawing/painting with light image.
Check out this video: https://www.youtube.com/watch?v=kcTAXn7LJZ4
or this one : https://www.youtube.com/watch?v=vKAu0IluyR4
CAMERA SETTINGS
You will need to be in Manual mode (that's the M on the dial with the letters and pictures- NOT AV, TV, A, S or AUTO
- in order to change the shutter speed you rotate the scroll by the shutter release (same as you used to change the aperture in the AV mode)
- in order to change the aperture (f stop) you rotate the scroll by holding down the AV button on the back of your camera and rotating the scroll. While the "depth of field" may not matter to you in these photos, the size of the aperture will matter to you because it will add or subtract light.
A good beginning setting for your camera will be : ISO: 400, F-stop at f5.6 and shutter speed at 10seconds or 10"
I suggest also being in MANUAL FOCUS! Your camera will not be able to see what it is taking the photo of in the dark- so throw the camera into MANUAL focus and look through the viewfinder and focus your image. (you will need to provide light in order to focus manually as well)- this is the "M" or "MF" on the lens- not the mode.
Your exposures should be around the 10" to 30": seconds- you can use the BULB or "B" setting to do longer than 30 seconds. (30") If the shutter sounds quick it is possible you're on 1/30 or 1/10. Make sure your shutter speed reads " after the number which is the symbol for seconds.
SELF TIMER: If you only can use yourself for the pictures (you don't have a buddy), That is a semi circle with a line and a dot on the back of the camera. Click that button. it will give you a few seconds before the camera releases the shutter to get into place.
LIGHT SETTINGS
You will need a light source. Your cell phone flashlight is a good light source.
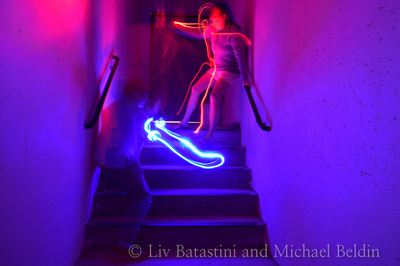
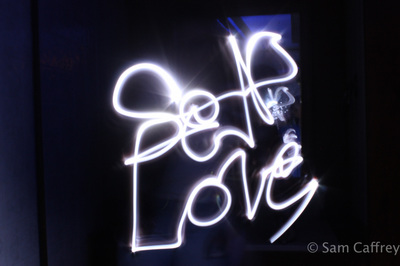
You will use this light to either "draw with light" towards the camera OR "paint with light" as you paint the subject. It will create different effects, so try both.
If your light is too bright in your photos, change your aperture (smaller hole (larger number) will make the photo/light darker) (larger hole (smaller number) will make the photo/light brighter)
If you need more time to draw your drawing, then change your shutter speed to a longer number (10", 15", 30")
Try images in very dark settings and semi dark settings. You will see ambient light in the photos. Pay attention to the brightness and your ISO and aperture setting if you can see too much of the room or landscape when you're shooting.
Remember:
- your camera needs to be stationary. (tripod, table, chair)
- You will get different effects by pointing your lights (sharper- directional) towards the camera then when you shine it on a subject (broader, softer, reflective)
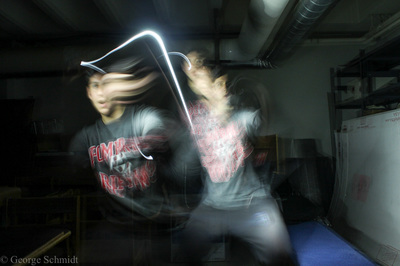
- You should have movement in your image, this movement will be recorded on your image sensor while you draw with light.
- if your picture is too light either shorten your exposure time, make your scene darker, or make your aperture smaller (larger number)
- if your picture is too dark, either lengthen your exposure time, make your scene brighter, or make your aperture larger (smaller number)
- your scene should be very dark
- try different types of lights: finger lights, flashlights, cell phone (iflashlight app),etc. if you're home sparklers or candles can be fun- but be safe.
- laser lights are actually not continuous lights and they blink really fast so if you get a dotted line, that's why
Include the four following types of drawing with light:
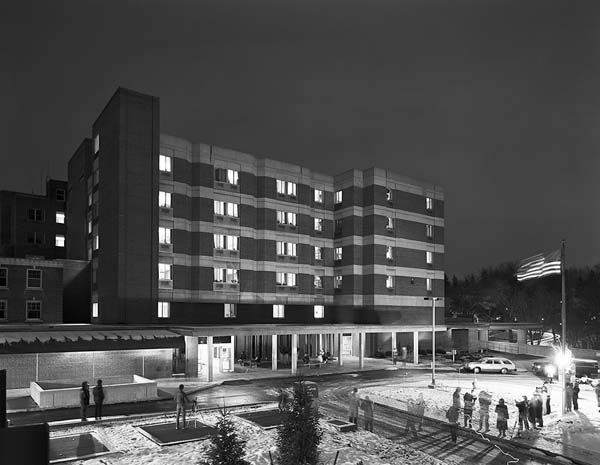
Use flash (goes off at the beginning of the exposure)
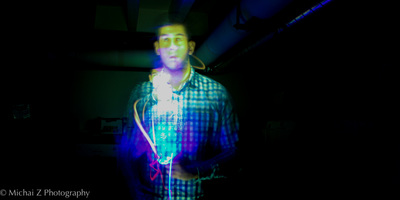
Use direct light- shine the light source towards the camera
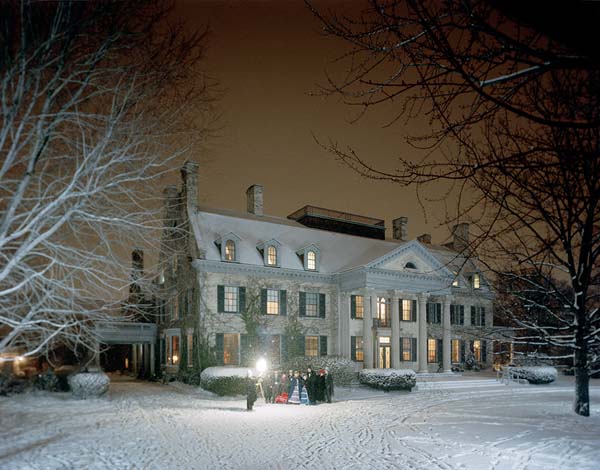
Use indirect or reflected light- shine the light towards the subject to highlight the subject
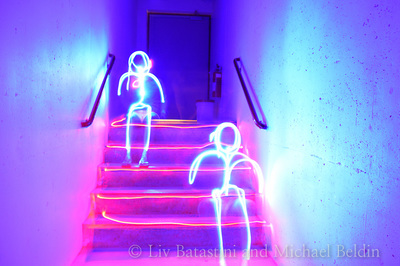
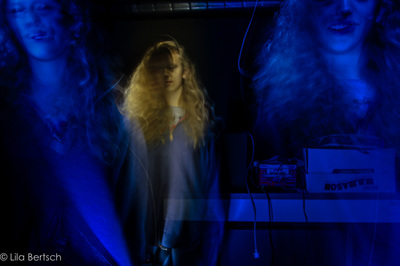
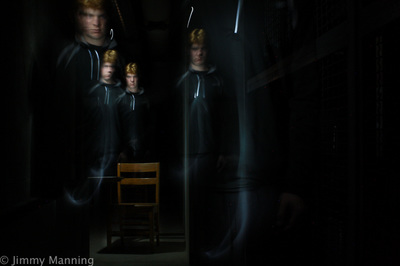
Try putting the same subject in the image multiple times
Additionally:
Try a few different things... if you need inspiration you can google:
"light drawings"
"light trails"
"drawing with light"
America's Got Talent
Aurora Light Painters
Their link is here for their website for more information
Aurora Light Painters
Fine Artists
Other interesting artists include the work of
Banho De Luz
Surgey Churkin
Trevor Williams
Check out this cool website with MANY LIGHT PAINTING ARTISTS!
Professional Light Painters
WATCH THIS VIDEO: This guys process is amazing!!!
Brian Matthew Hart
Tutorials can be found online at youtube if you look for drawing with light tutorial, but this one I like and think is good.
Drawing with light tutorial
Drag Shutter
so bring your camera home/dorm, pick up a tripod if you need one and don't forget some kind of lighting instrument!
HAVE FUN!
Mrs. Lehmann's Example: HOW TO DO THIS PROJECT: WATCH ME
